Bare Metal: iPXE
latitude.sh offers on-demand bare metal servers with hourly billing and a Custom iPXE option in the order form, which makes it the quickest way to bring up a Kheeper host on real hardware. This page covers the provider-specific steps; see Working with Bare Metal for the general flow and Boot on Bare Metal for an end-to-end tutorial.
Step 1 — Create an iPXE script
Generate a one-time iPXE script for the host name you want. The script is valid for 24 hours and is consumed the first time a machine registers with it.
kheeper hosts ipxe create myorg/web-server
This prints a multi-line script that starts with #!ipxe and ends with boot.
Copy the whole thing.
For a host that will run sealed images, add
--composefs. latitude.sh servers arrive with their firmware in Setup Mode,
so the host enrols your Secure Boot keys itself on its first sealed release.
Step 2 — Order the server with Custom iPXE
- Log in at latitude.sh
- Click Create Server
- Pick a server and location
- Under Operating System, select Custom iPXE and paste the script from step 1
- Under Billing, select Hourly if you only want to try it out
- Click Deploy
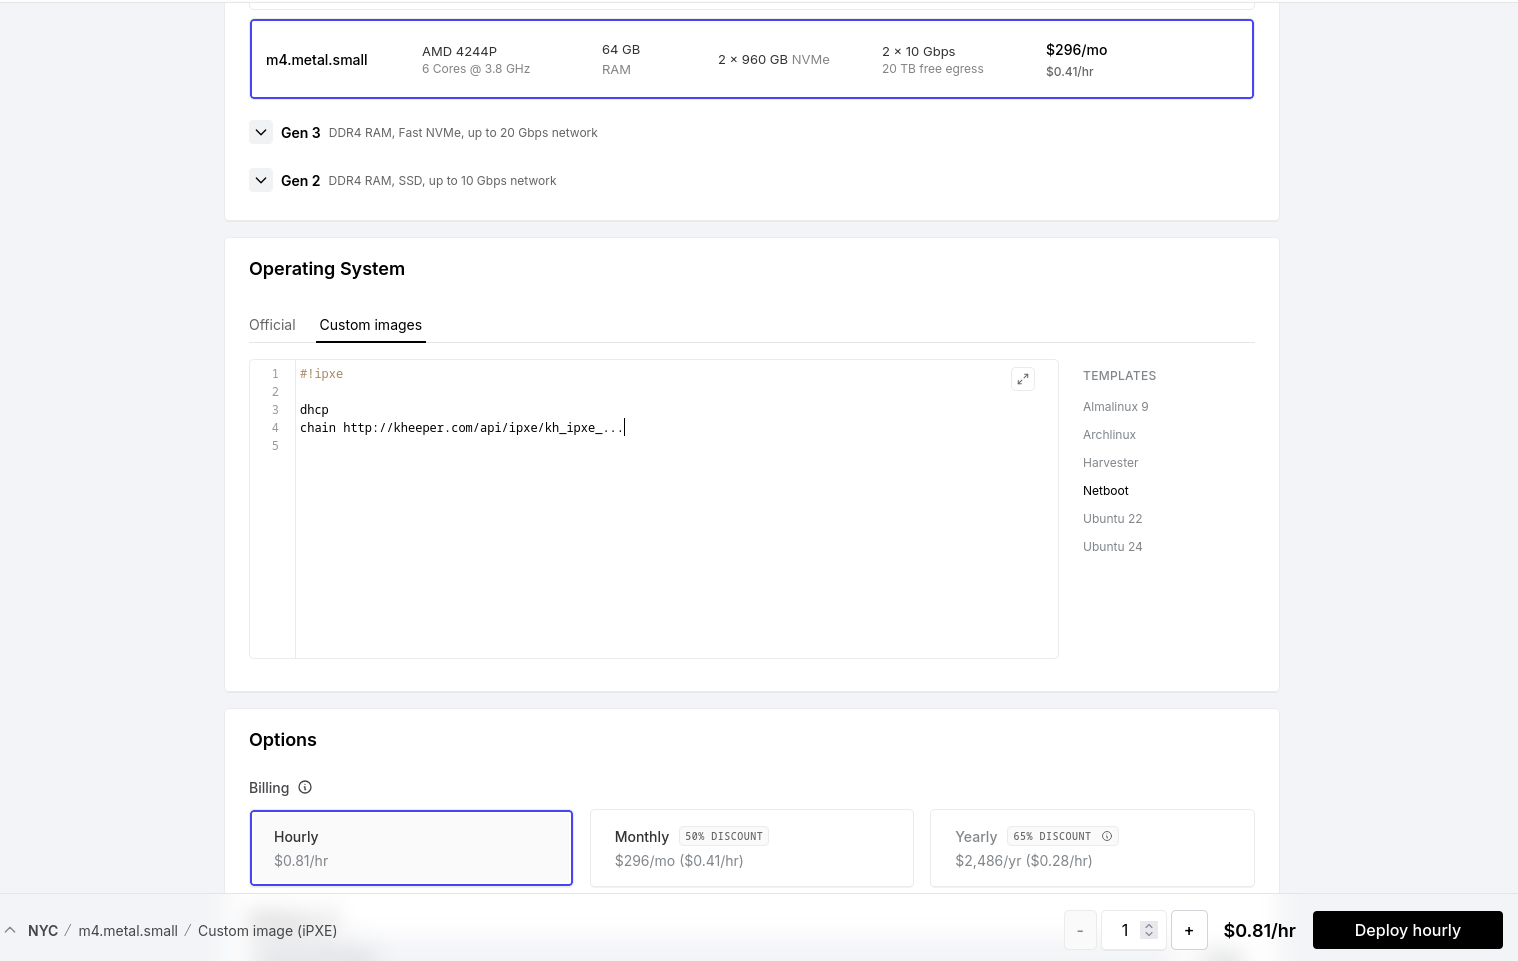
latitude.sh boots the server straight into your script — there is nothing else to configure on their side, and no finish hook or callback to worry about.
Step 3 — Wait and verify
The install takes ten to thirty minutes. When it finishes, the machine reboots into the Kheeper base image and auto-registers under the name you chose:
kheeper hosts list --org myorg
You should see web-server in the list. From here, deploy to it like any other
host — see Working with Hosts.